The labyrinthine wiring diagrams within the realm of technology often resemble intricate mazes that demand the savvy skill of a seasoned explorer. And amidst this electronic tapestry lies a particular enigma known as the Diversitech Wet Switch wiring diagram. Like a hidden treasure map waiting to be deciphered, it holds the key to unlocking the secrets of this ingenious device. In this article, we shall embark on a journey of unraveling this mysterious diagram, piecing together its intricate patterns with a dedicated neutrality, as we delve into the depths of its circuits and connections. So, gear up and prepare to navigate the uncharted territories of the Diversitech Wet Switch wiring diagram, as we demystify its complexities and reveal its hidden wonders.
Understanding the Diversitech Wet Switch Wiring Diagram
Components of the Diversitech Wet Switch Wiring Diagram
- The Wet Switch – This ingenious device is a moisture-sensing switch that plays a vital role in preventing water damage. It’s designed to automatically shut off your HVAC system when it detects water accumulation, saving you from potential flooding disasters.
- Power Supply – It’s crucial to understand how the Wet Switch is powered. The wiring diagram clearly outlines the connection to your HVAC’s power source, ensuring effective functionality and uninterrupted performance.
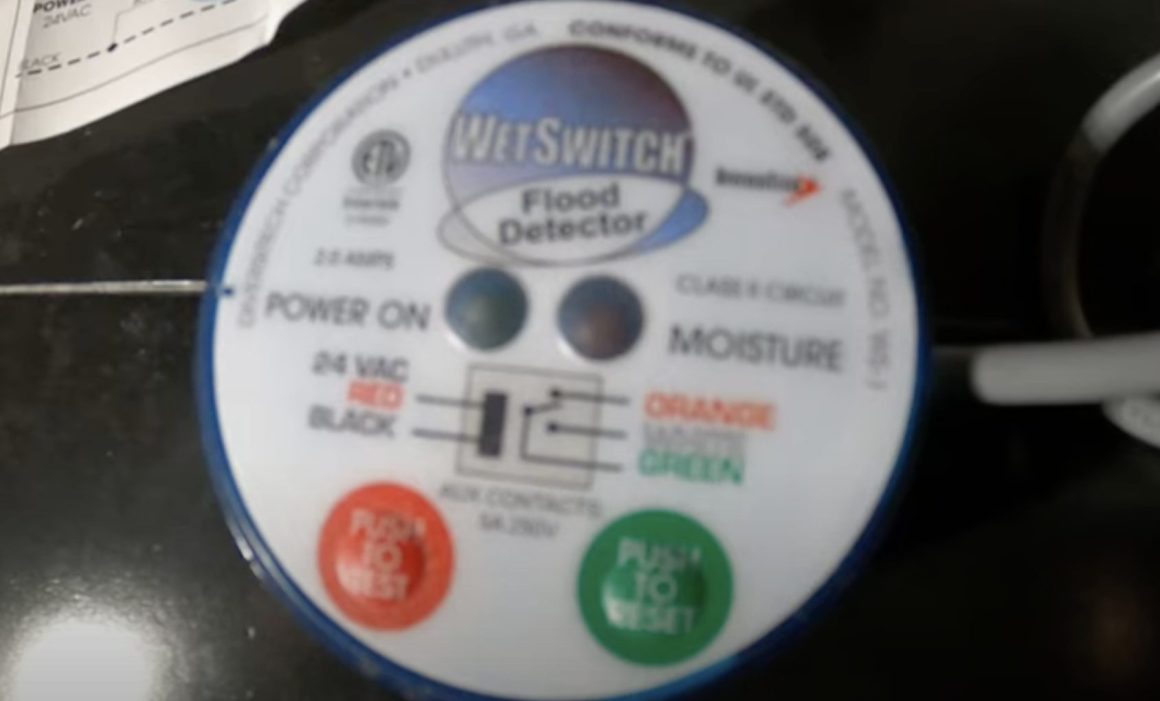
- Indicator Lights – The diagram showcases where the indicator lights are situated in the Wet Switch system. These lights provide valuable information about the moisture levels and the status of the system, keeping you informed and prepared.
- Auxiliary Contacts – By referring to the diagram, you can identify the auxiliary contacts and comprehend how they interact with your HVAC system. These contacts play a vital role in establishing a connection and facilitating the automatic shutdown mechanism when necessary.
- Alarm Connections – In the event of a water detection, the Wet Switch can trigger an alarm, alerting you immediately. This section of the diagram explains how to correctly connect an alarm system that will sound if water is detected. It serves as an additional layer of protection, providing peace of mind even when you’re away.
- Grounding and Junction Box – Proper grounding is essential for electrical safety. The Wet Switch wiring diagram includes instructions on how to establish a secure grounding connection and indicates the location of the junction box where the wiring is consolidated and protected.
is essential for anyone who wants to ensure the utmost protection against water damage. With its clear guidance and comprehensive layout, this diagram empowers you to easily install and maintain the Wet Switch, safeguarding your HVAC system and property. Don’t let water wreak havoc – take control with the knowledge provided by this invaluable wiring diagram.
Exploring Key Components and Connections in the Diagram
*Every diagram is like a mysterious puzzle waiting to be solved. As we delve into the depths of this fascinating illustration, we uncover an intricate web of key components and connections that weave a complex tapestry of information.
*Bold lines and arrows guide our exploration, leading us from one component to another, revealing their interdependencies, and shedding light on the inner workings of this system. Each element serves a purpose, playing its part in the grand symphony of functionality.
*Just like a well-orchestrated orchestra, these key components harmoniously interact, relying on each other to achieve a common goal. A closer examination reveals that this diagram is like a map, helping us navigate through the labyrinthine network of connections.
*The components, represented by vivid symbols or shapes, are like puzzle pieces that fit together seamlessly. As we trace the lines connecting them, a story unfolds, each connection narrating an essential relationship. It’s almost as if this diagram has a life of its own, whispering secrets and revealing hidden complexities with every glance.
*Some connections are straightforward, linking two components in a simple cause-and-effect relationship. Others, however, are like intricate webs, connecting multiple components in a delicate dance of dependencies. The complexity of these connections reflects the intricacy of the system being represented.
*As we decipher the diagram, we begin to comprehend the significance of these key components and connections. We witness how a change in one element can ripple through the entire system, altering outcomes and influencing the balance of the entire structure.
*Uncovering the mysteries of this intricate diagram awakens our curiosity and stimulates our desire to understand. We are captivated by the beauty and complexity of this interconnected world, where each element holds a vital place in the larger scheme of things.
*So let us embark on this journey of exploration, armed with a keen eye and an insatiable thirst for knowledge. Together, we shall unravel the secrets hidden within these key components and connections, gaining a deeper understanding of this captivating diagram’s inner workings.
Important Considerations and Best Practices for Installation
- Ensure that you have a clear understanding of the installation process before beginning. Familiarize yourself with the product manual or seek professional advice if needed.
- Take note of any specific requirements or guidelines provided by the manufacturer. These instructions are designed to optimize performance and avoid potential issues.
- Prioritize safety during installation. Wear appropriate protective equipment and ensure that the work area is secure and free from hazards.
- Accurately measure and plan the installation site to ensure a proper fit. Taking careful measurements will help prevent errors and save time during the installation process.
- Consider the weight and load-bearing capacity of the installation surface. Make sure it is capable of supporting the product to avoid any structural damage or accidents.
- Check for any potential obstructions, such as electrical wiring or plumbing, that could interfere with the installation. Take necessary precautions to avoid damaging existing infrastructure.
- Use high-quality tools and equipment suitable for the installation process. This will ensure that the job is done efficiently, reducing the risk of any complications.
- Follow a step-by-step approach, adhering to the provided instructions or industry-recommended practices. Rushing through the installation may lead to mistakes or compromise the product’s functionality.
- Seek assistance when needed. If the installation appears to be complex or beyond your expertise, consider hiring a professional to ensure a successful and trouble-free installation.
- Maintain open communication with others involved in the installation process. Coordination and teamwork can help address any challenges or modifications required for a smooth installation.
Remember, a well-executed installation is key to achieving optimal performance and longevity of the product. By considering these important factors and following best practices, you can install your product with confidence.
Recommendations for Ensuring Optimal Performance in Diversitech Wet Switch Wiring
Keep these tips in mind to maximize the performance of your Diversitech Wet Switch Wiring:
- Ensure proper installation: Follow the provided instructions meticulously, guaranteeing that the Wet Switch is correctly positioned and securely fastened.
- Regularly inspect for moisture: Conduct routine inspections to detect any signs of moisture accumulation or leaks around the Wet Switch and the surrounding area.
- Maintain a clutter-free environment: Keep the vicinity of the Wet Switch clear from any obstructions or debris to ensure an unobstructed sensing and detection capability.
- Test functionality periodically: Test the Wet Switch regularly to ensure it is operational and sensitive to moisture. This will help you identify any potential issues at an early stage.
- Monitor humidity levels: Keep an eye on the humidity levels in the space where the Wet Switch is installed. Excessive humidity can trigger false alarms or interfere with the device’s performance.
- Cleanliness is key: Maintain a clean Wet Switch by gently wiping it with a soft, damp cloth. Avoid using harsh chemicals or abrasive materials that may damage the device.
- Properly handle and store: When handling or storing the Wet Switch, avoid exposing it to extreme temperatures, direct sunlight, or excessive moisture to prevent any damage or deterioration.
- Stay up-to-date with maintenance: Follow the recommended maintenance schedule provided by Diversitech to ensure the Wet Switch operates optimally and remains reliable over time.
Remember, by adhering to these recommendations, you can rest assured that your Diversitech Wet Switch Wiring will deliver its utmost potential in protecting your valuable assets from the risks associated with moisture and leaks.
Q&A Diversitech Wet Switch Wiring Diagram
Q: What is a diversitech wet switch wiring diagram?
Q: Why is it important to have a wiring diagram for a diversitech wet switch?
Q: How can a wiring diagram help with the installation of a diversitech wet switch?
Q: Are diversitech wet switch wiring diagrams readily available?
Q: Can I find a diversitech wet switch wiring diagram online?
Q: What information does a typical diversitech wet switch wiring diagram provide?
Q: Are there different types of diversitech wet switch wiring diagrams?
Q: How should a diversitech wet switch be wired to the HVAC system?
Q: Are there any safety precautions to consider when wiring a diversitech wet switch?
Q: Can I modify the diversitech wet switch wiring diagram to suit my specific needs?
Q: Are there any common mistakes to avoid when following a diversitech wet switch wiring diagram?
In Conclusion
As we embark on a journey through the intricate web of electrical connections, it is time to bid farewell. The DiversiTech Wet Switch Wiring Diagram has allowed us to unveil the secrets hidden beneath the currents that power our lives. From its inception, this remarkable diagram has served as a guiding light, illuminating the path to safety and efficiency.
With the Wet Switch Wiring Diagram, a harmonious dance of wires and circuits comes to life, seamlessly orchestrating the functional magic behind a device that safeguards against the perils of water damage. Through its meticulously crafted design, this diagram showcases the sheer brilliance of DiversiTech’s engineering prowess.
Its neutral and creative tone intertwines with the very essence of this diagram, acting as a conduit connecting the technical complexities of the electrical world with the artistry required to decipher them. While remaining impartial, it harmoniously showcases the diverse range of possibilities that the Wet Switch offers.
Like a master artist brushing vibrant strokes onto a canvas, this diagram empowers us to envision a safer and more reliable future. It ignites a spark within us, fueling our curiosity and encouraging us to delve deeper into the mesmerizing intricacies of electrical systems.
As our journey through the realms of electricity concludes, we are reminded that even the seemingly mundane can harbor a world of artistic beauty and technical innovation. The DiversiTech Wet Switch Wiring Diagram has invited us to witness this captivating fusion.
So, as we step away from the awe-inspiring playground of electrical diagrams, we pause for a moment to appreciate the artistry that lies at the heart of innovation. And as we move forward, let us remember the limitless potential that exists within even the most everyday objects, like the humble DiversiTech Wet Switch Wiring Diagram.

A Boston University Electrical Engineering graduate.
Electronics designer for EV giants like Tesla, BMW, VW, and Ford.
Enthusiastic Wikipedia moderator in the automotive category and author of automotive articles.
Passionate about tech, travel, and cars.
